I’ve been making elderberry syrup at home for years. In fact, I’ve even made elder syrup for my babies. Obviously, I’m totally late to the game, but I just realized I could make Instant Pot elderberry syrup. Hello.
Benefits of Elderberries
Elderberries are tasty cold and flu fighters. They contain compounds that inhibit the enzyme flu viruses from penetrating cell membranes and can also prevent the virus from invading respiratory tract cells.
Taken daily, elderberry syrup is a boost to the overall immune system. Taken early on and consistently, they can also shorten the duration of an upcoming illness. They are especially good for bronchitis, colds, coughing, and influenza. (SOURCE, SOURCE)
In my opinion, elderberries are about just as amazing as coconut oil and should be a part of every naturally minded mama’s medicine cabinet.
What are Elderberries?
Elderberries are small, dark purple berries that grow in clusters, often growing wild in fields and meadows. They are not a sweet berry, but have a tart, bitter taste.
Because of their wonderful health benefits, elderberries have become increasingly popular over the years, but also more expensive. The average elderberry supplement at the store is around $10 – $14 and doesn’t last very long, especially if you have a family.
By making your own elderberry syrup you will save a lot of money, but also be an active participant in the health and wellness of your family, which is very empowering.
Want to learn how to make your own elderberry syrup? Let’s get started!
How to Make Instant Pot Elderberry Syrup – It’s Easy!
Please don’t be intimidated by this recipe. It’s incredibly easy – just try it! The following are step-by-step instructions to make your own Instant Pot Elderberry Syrup at home. Have fun!
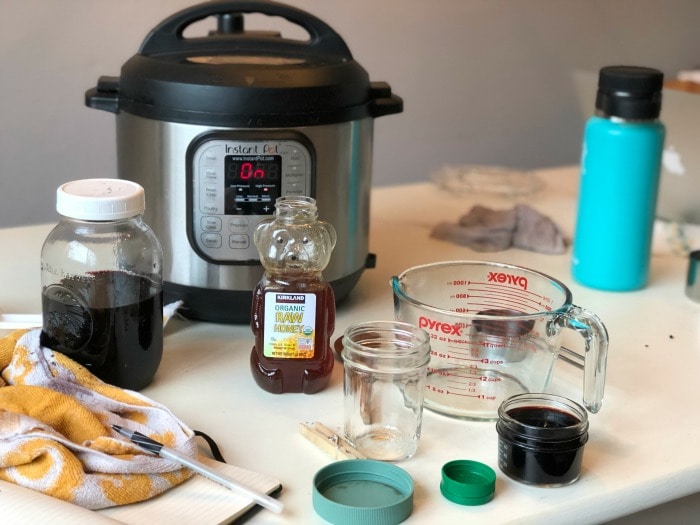
Gather Supplies
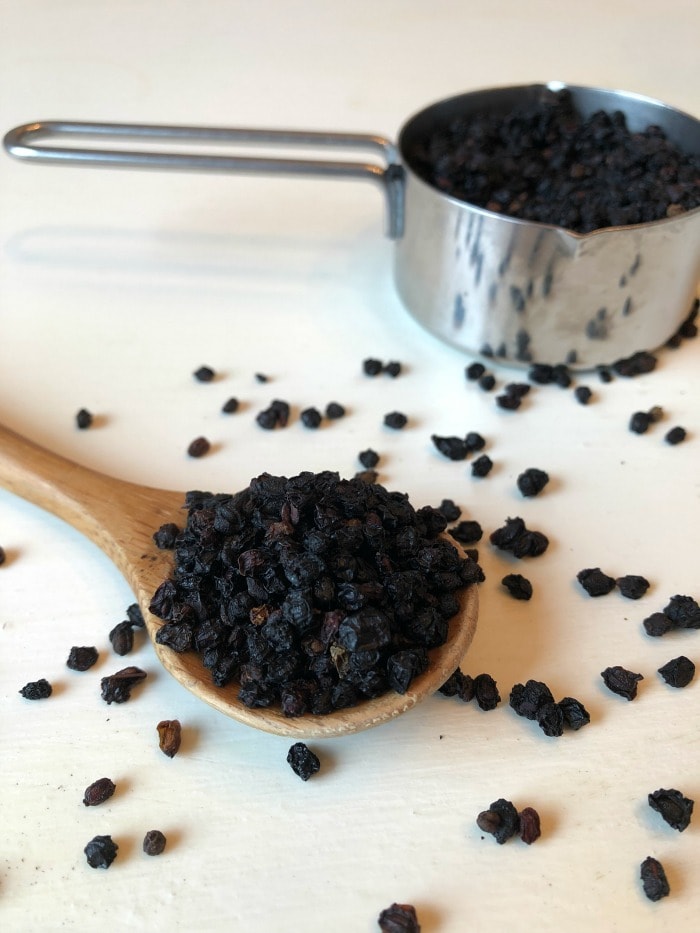
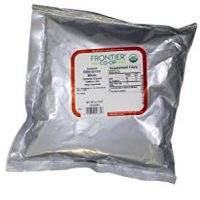
To make Instant Pot Elderberry Syrup you will need:
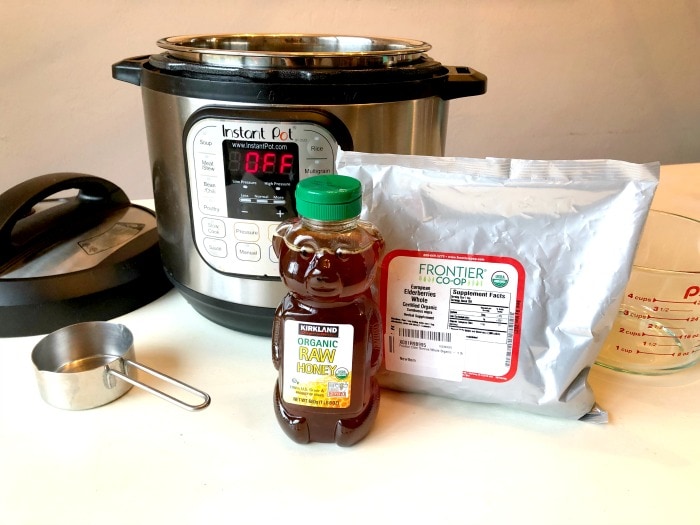
(Not pictured: Mesh Strainer and Mason Jar. Oops.)
Get Instant Pot Ready
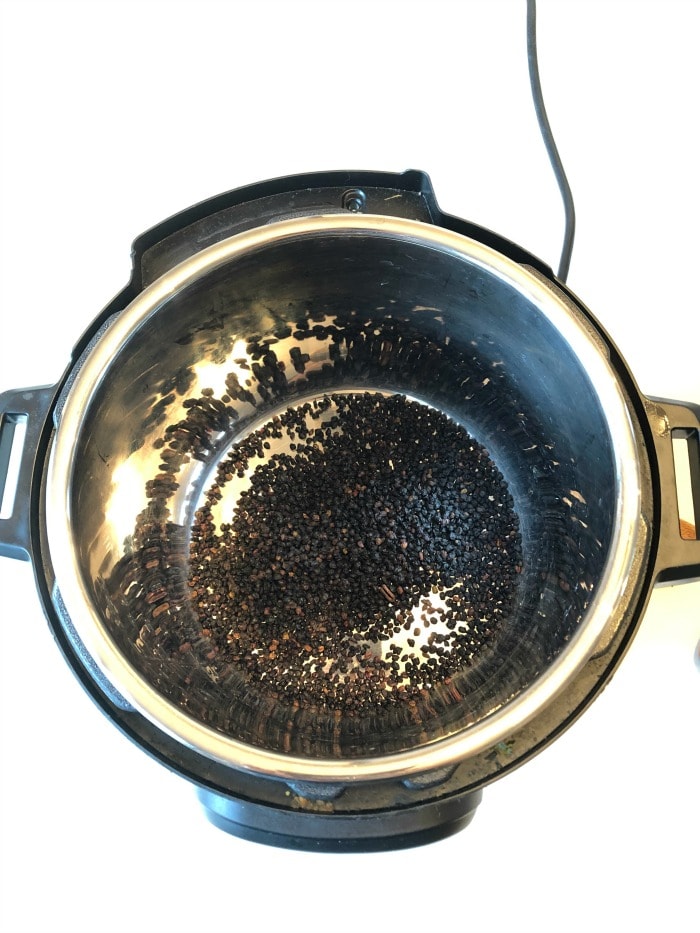
Next, we’re going to get the Instant Pot ready to do the heavy lifting and make elderberry syrup. Plug it in and pour the dried elderberries in the pot.
NOTE: Make sure the stainless steel pot is in the Instant Pot. I’ve heard that sometimes some people forget this crucial step. Oops.)
NOTE: This recipe calls for dried elderberries, but you could use fresh too. If you want to use fresh elderberries just double the amount of berries used. For example, this recipe calls for 1/2 cup of dried elderberries, so you’d just use 1 cup of fresh instead.
NOTE: Many recipes for elderberry syrup on the internets call for orange zest, cinnamon sticks, and/or cloves, which for some are probably wonderful. However, I like to keep things simple and keep my elderberry syrup free of other flavors.
NOTE: It’s hard to mess up making elderberry syrup. This is a very forgiving recipe. Hooray!
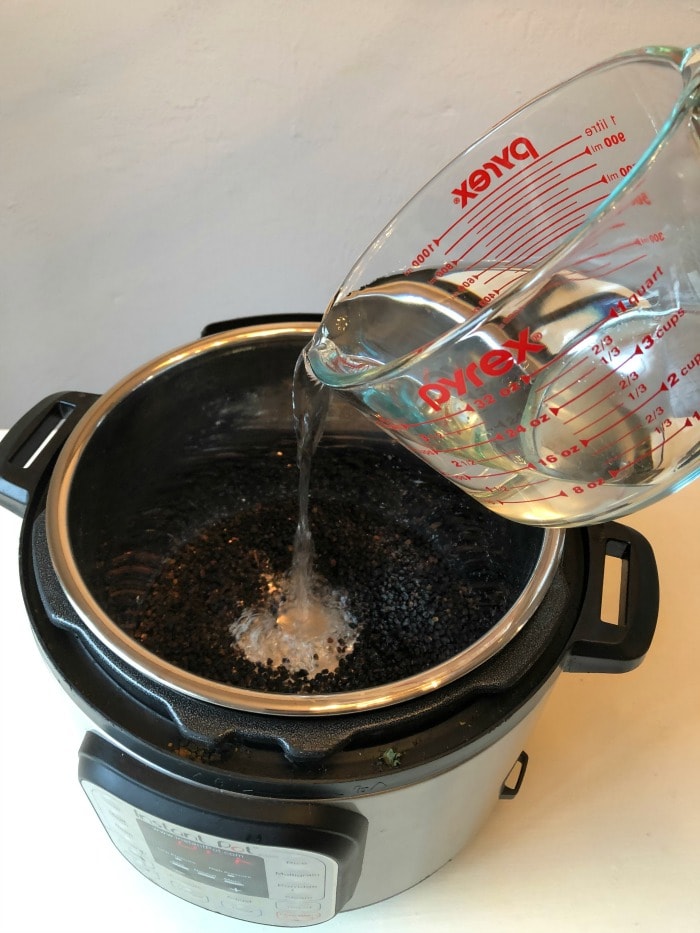
Pour the water over the elderberries in the Instant Pot. Isn’t this easy?
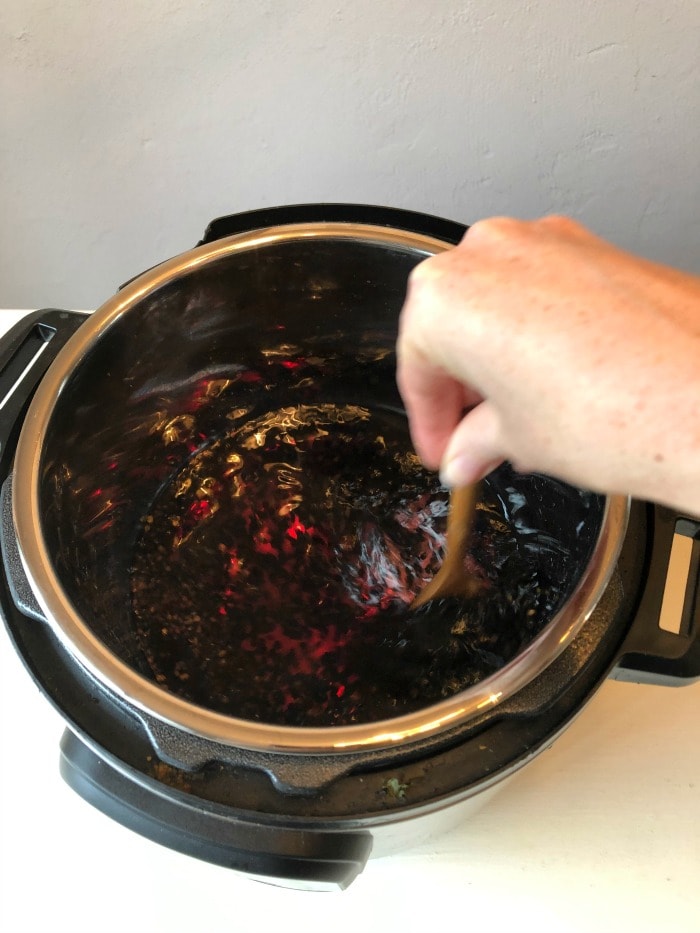
Totally unnecessary, but I find it amusing to stir the berries and water together. The water turns purple. What fun!
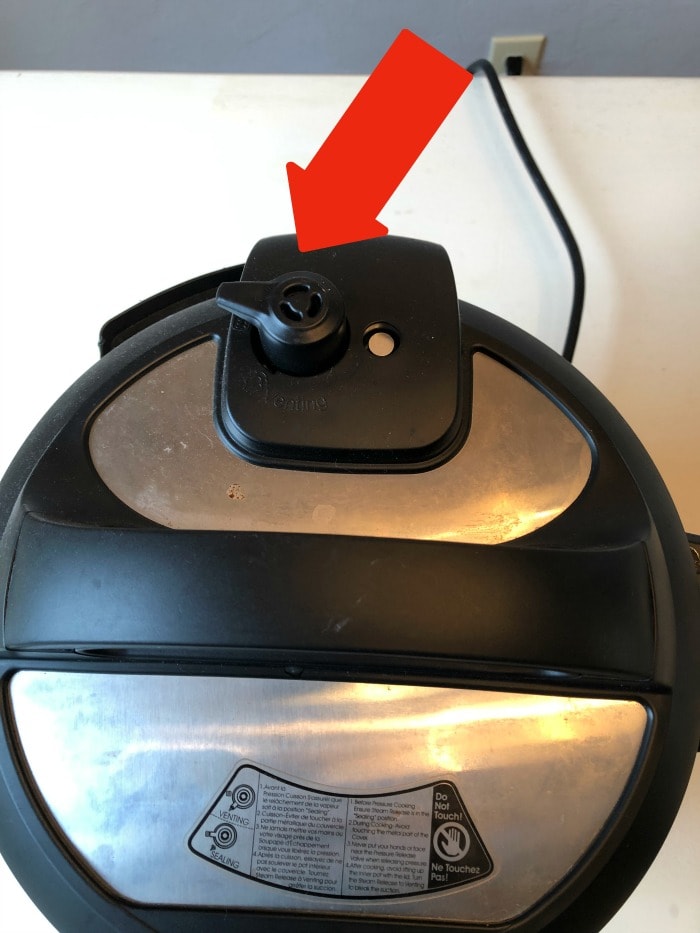
Place the lid on the Instant Pot, close it up, and make sure the pressure valve knob is turned towards seal and not vent. If you skip this step (I’ve done it!) the Instant Pot won’t seal and will make pressure cooking impossible.
Pressure Cook Berries
Set the Instant Pot to “manual” on “high pressure” for 9 minutes. The Instant Pot will now do its thing. All you need to do is wait.
The 9 minutes will begin once the Instant Pot seals itself.
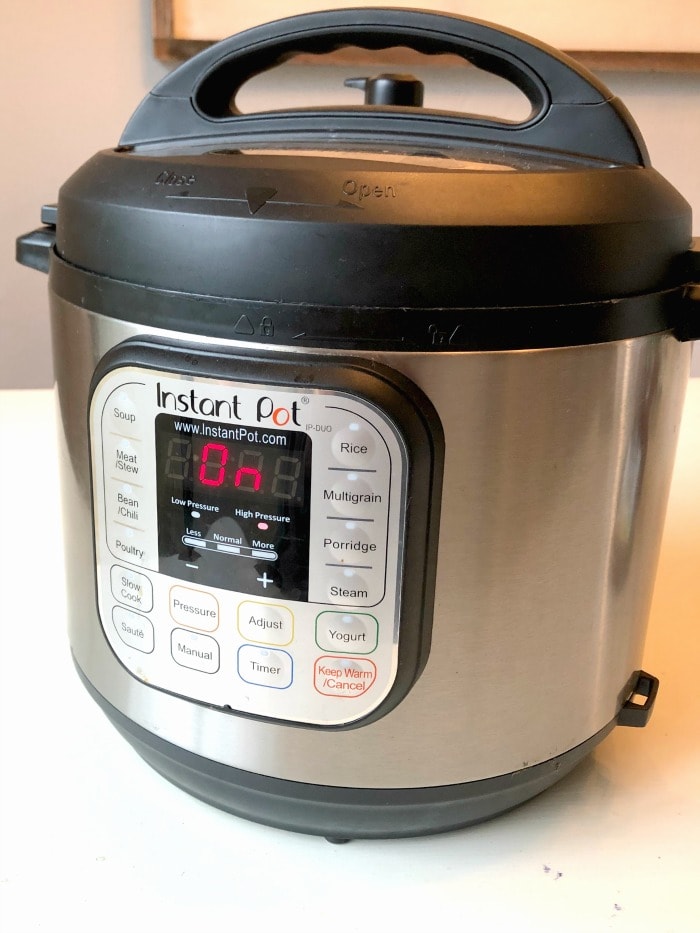
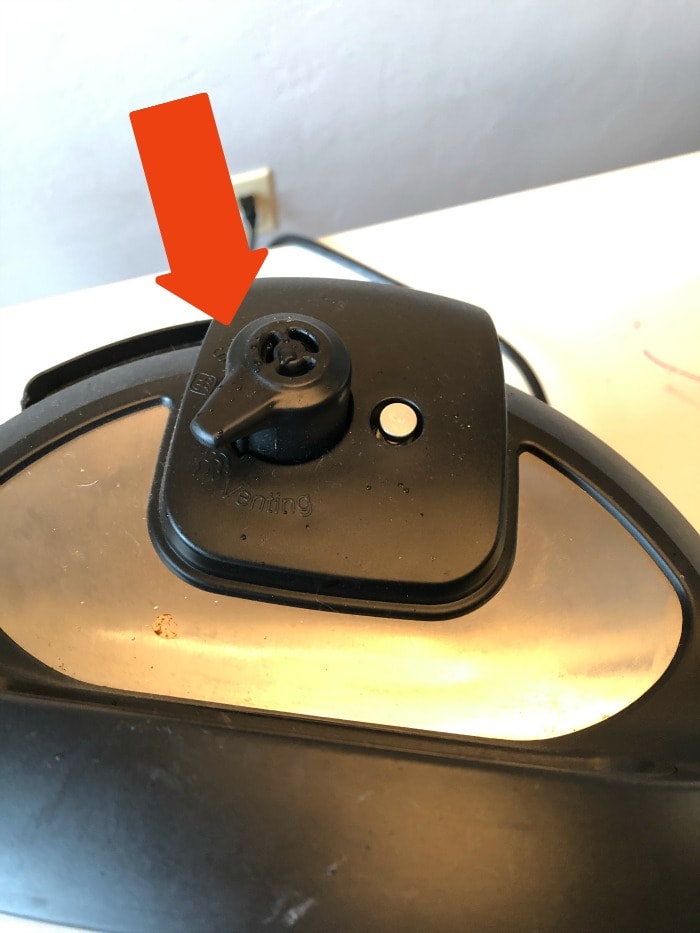
After the 9 minute timer beeps, turn the pressure valve knob to “venting” and release the pressure.
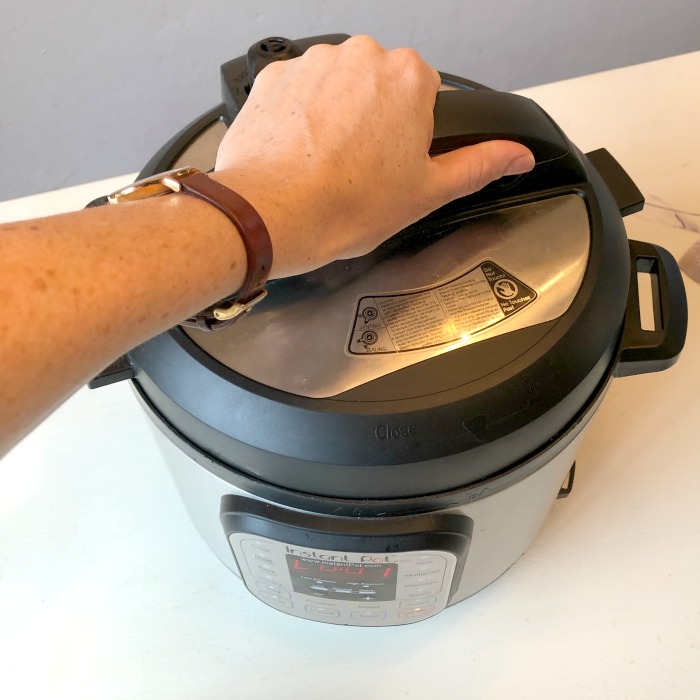
Open the Instant Pot! Exciting!
Oohhhh! Ahhhhh! It’s hot liquid elderberry juice!
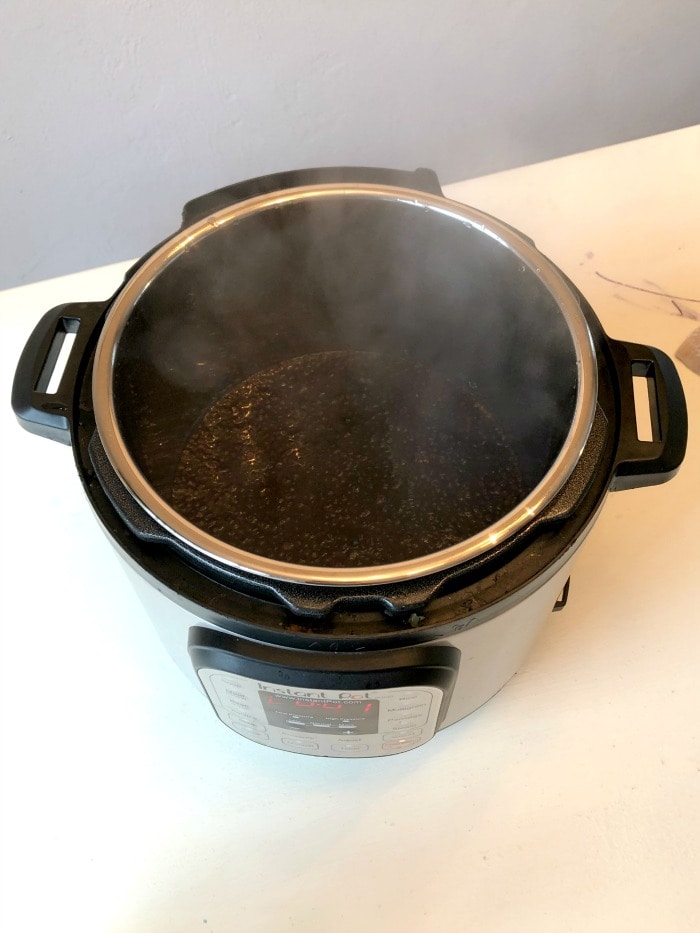
Strain Elderberry Juice
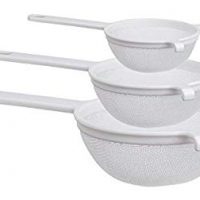
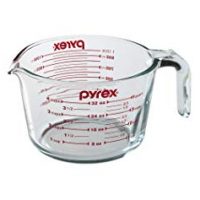
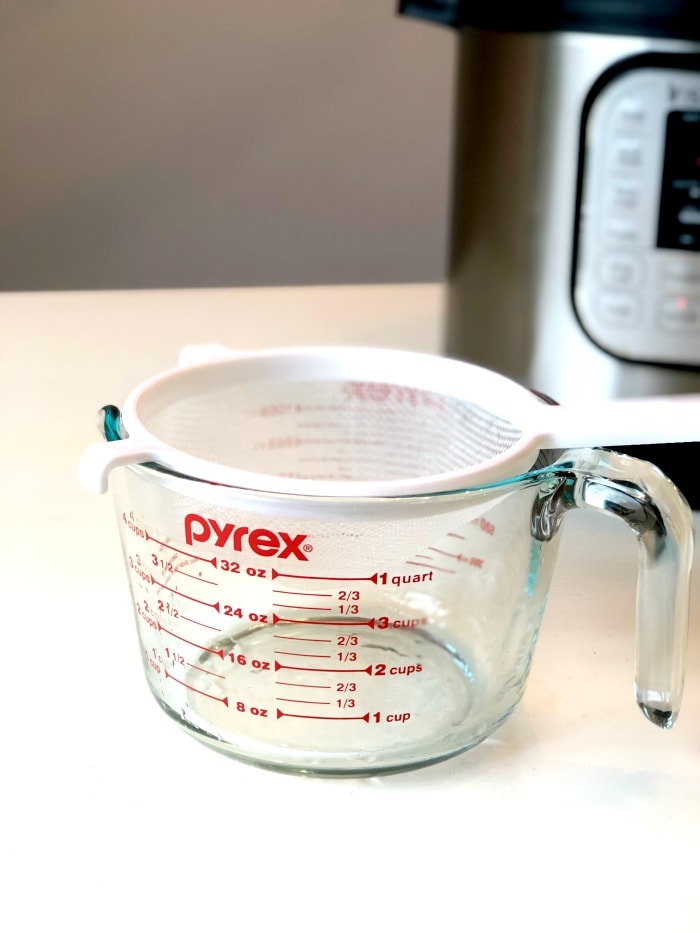
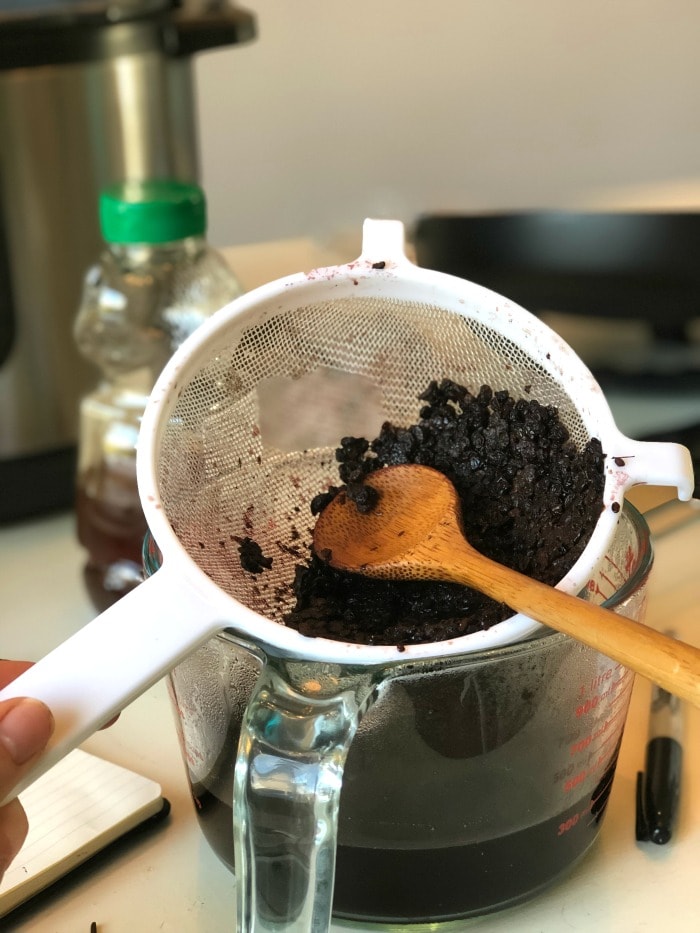
Prepare a place to strain the elderberry juice. I like using my mesh strainer and large pyrex measuring cup together. It’s a match made in (elderberry syrup) heaven.
This mesh strainer is the kind of strainer you’d want to use for making kefir. But that’s a whole other blog post.
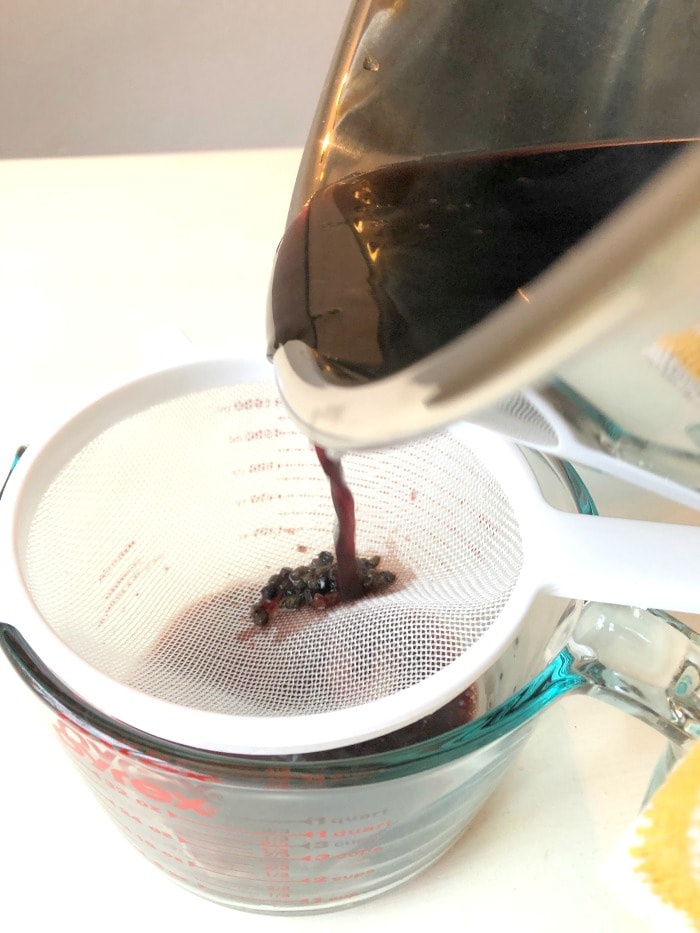
Pour the elderberry juice through the strainer into the measuring cup.
Mash and squish the elderberries against the strainer so that all the juice comes out.
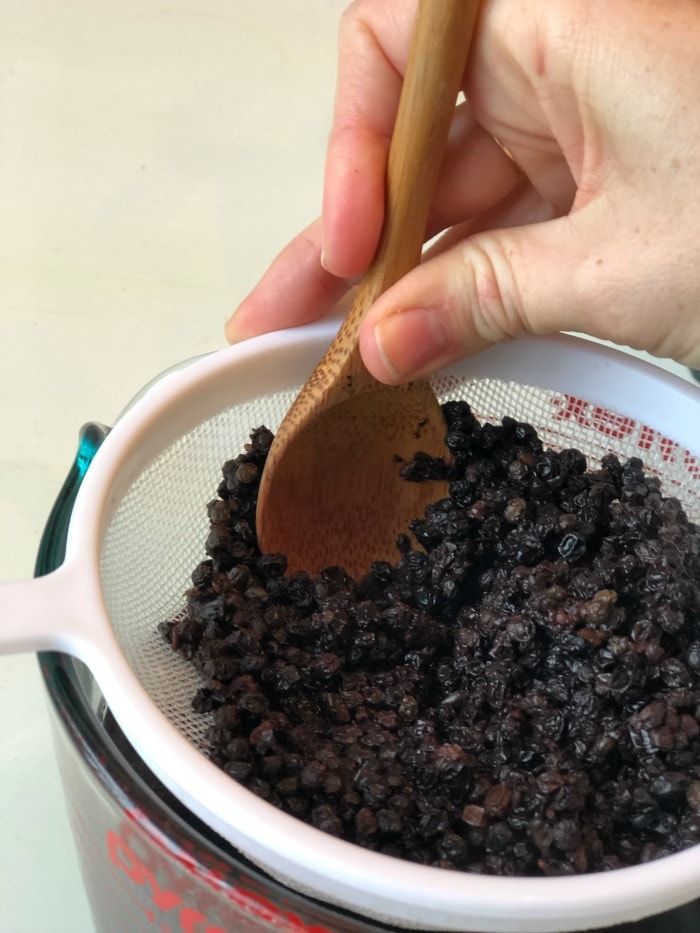
It should look pretty pulverized when you’re done.
Add Honey
Now that you’ve got the elderberries separated from the elderberry juice, while it’s still warm, add the honey. I’m a less-is-more sorta gal, and use less honey than others. If you like things sweeter than I, just add more!
Since you’re mixing the honey into the elderberry juice while it’s still warm, it should mix quickly and easily.
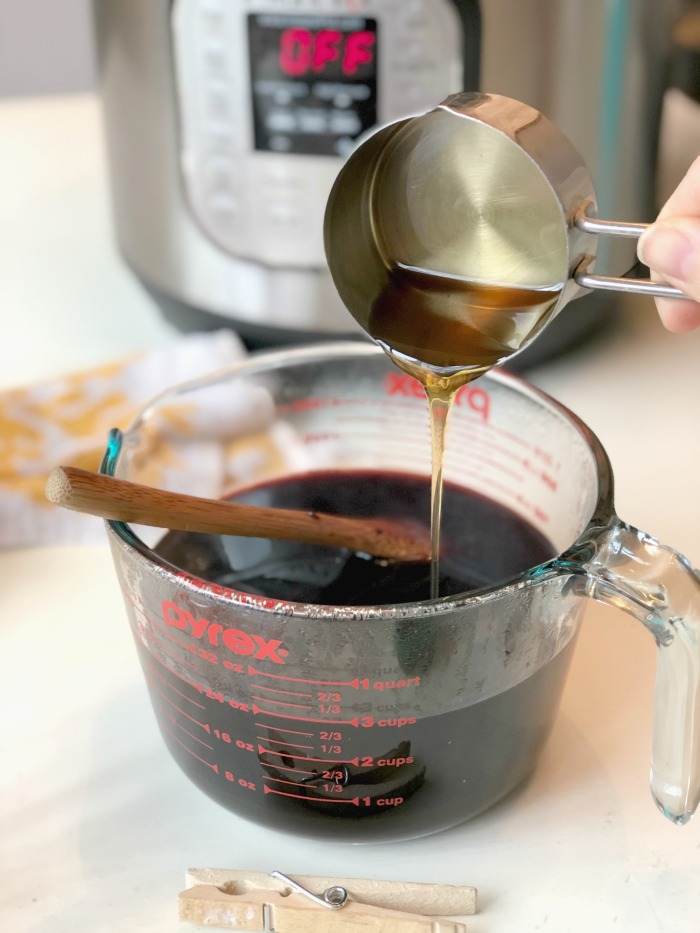
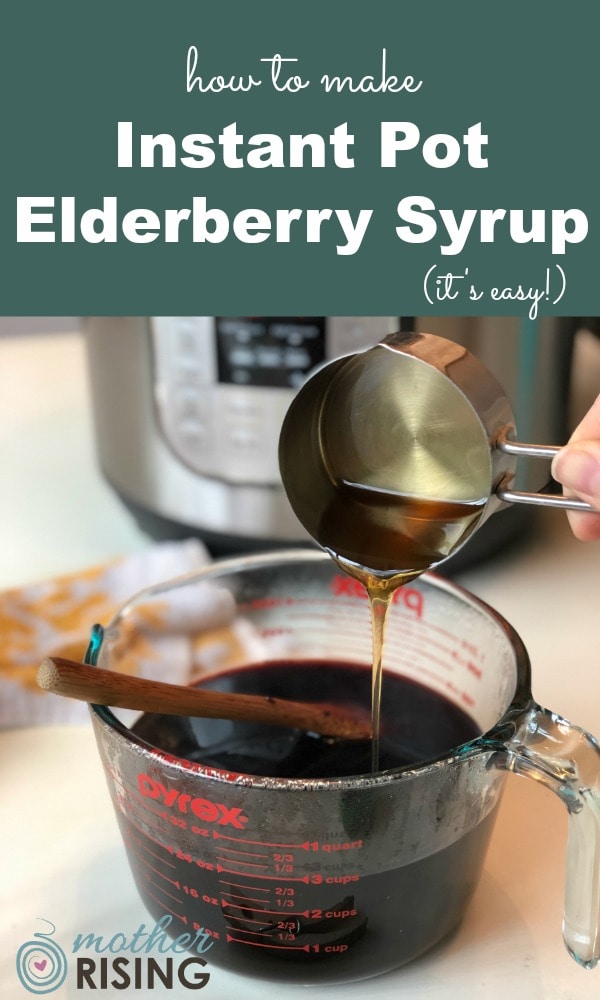
Ta da! You’ve made Instant Pot Elderberry Syrup. Wasn’t it easy?!
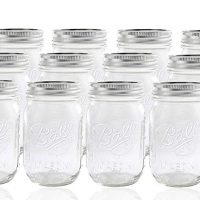
Store your Instant Pot elderberry syrup in a glass jar in the fridge.
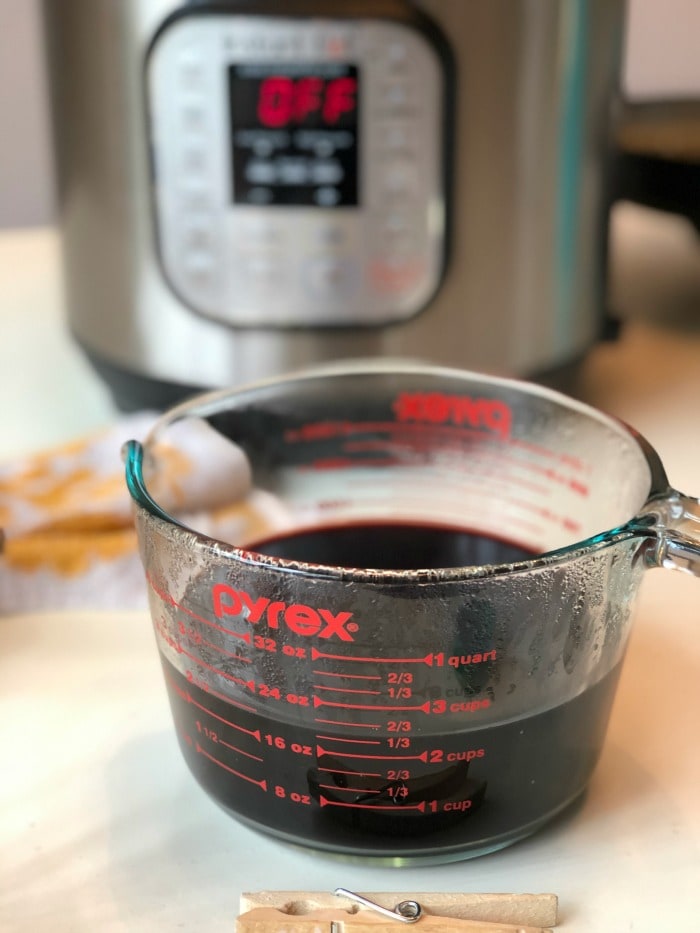
Next step is to clean up the mess, because your work space probably looks a little bit like mine. 🙂
Elderberries are tasty cold and flu fighters. They contain compounds that inhibit the enzyme flu viruses from penetrating cell membranes and can also prevent the virus from invading respiratory tract cells. Taken daily, elderberries are a boost to the overall immune system. Taken early on and consistently, they can also shorten the duration of an upcoming illness. They are especially good for bronchitis, colds, coughing, and influenza. For Daily Maintenance: Adults - take 2 teaspoons daily, Children - take 1 teaspoon daily For Intensive Use: Adults - take 1 tablespoon four times daily, Children - take 1 tablespoon two times daily As an Amazon Associate and member of other affiliate programs, I earn from qualifying purchases.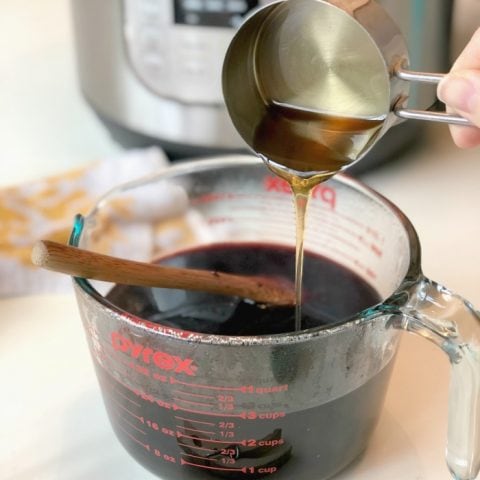
Instant Pot Elderberry Syrup
Ingredients
Instructions
Notes
Recommended Products
