This is a full list of placenta encapsulation supplies to DIY placenta pills at home from your own placenta or to start a postpartum business. Those wishing to encapsulate a placenta will need placenta encapsulation supplies for cleaning and setup, preparing the placenta for dehydration, dehydration, and filling capsules with placenta powder.
Placenta encapsulators new to this postpartum work, use this full list of placenta encapsulation supplies to start your business. For those interested in DIY placenta encapsulation, you will also find this post helpful as it gently walks through the entire encapsulation process, however, you’ll likely only need the six piece placenta encapsulation kit.
On This Page
5 minute read
↓ Placenta Encapsulation Supply Cabinet
↓ Supplies for Step 1: Cleaning and Setup
↓ Supplies for Step 2: Preparing the Placenta
↓ Supplies for Step 3: Dehydrating the Placenta
↓ Supplies for Step 4: Filling Capsules with Placenta Powder
↓ Supplies for Step 5: Packaging Placenta Pills
↓ Placenta Encapsulation Startup Cost
Placenta Encapsulation Supply Cabinet
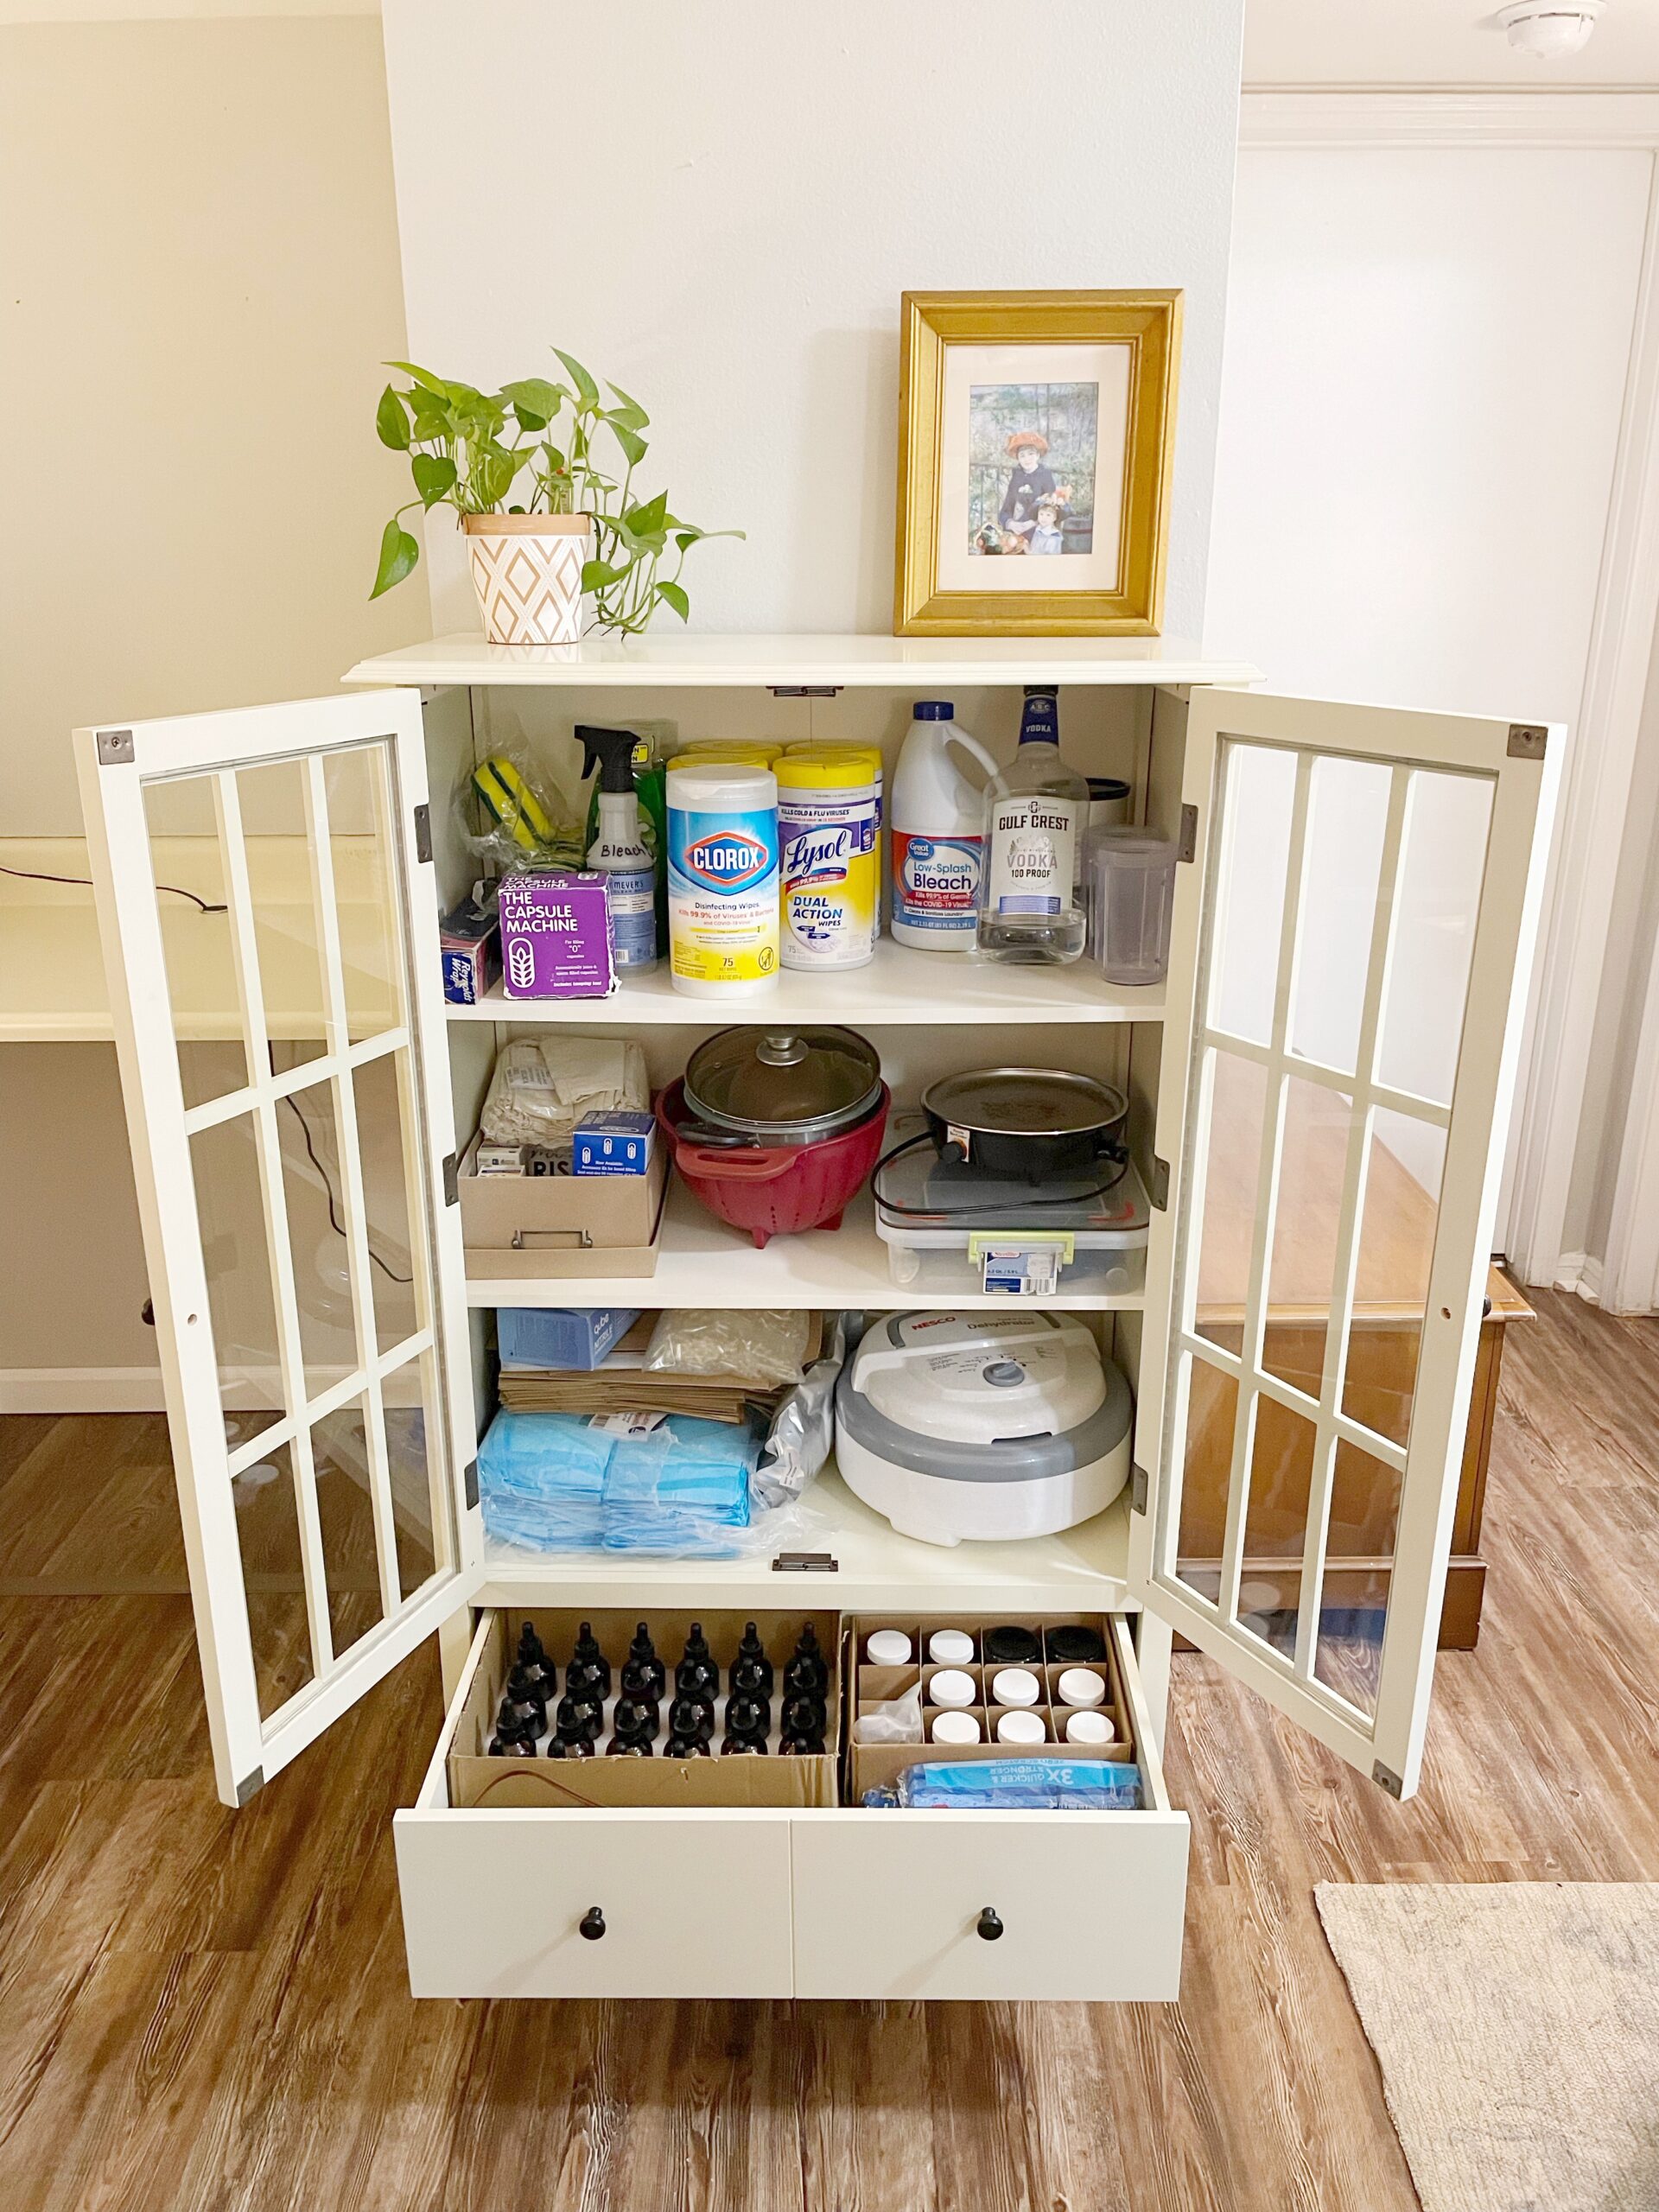
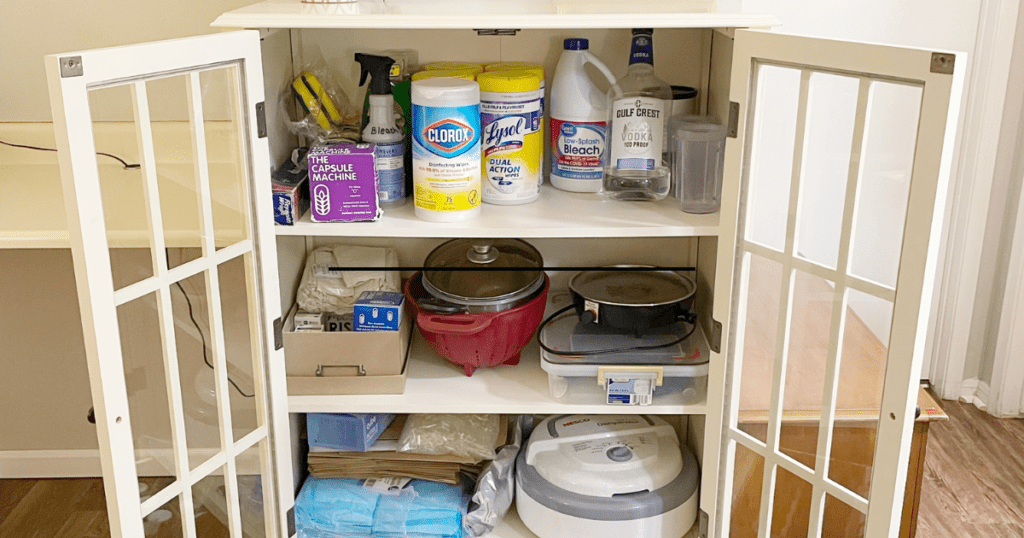
Below is a picture of my placenta supply cabinet where I keep most everything needed to encapsulate a placenta safely, minus my favorite placenta cooler. 🙂 Keep reading to find out exactly what placenta encapsulation supplies I keep in this cabinet.

Placenta Encapsulation Supplies
Step 1: Cleaning and Setup
Use the following supplies for cleaning and setting up the workspace for placenta encapsulation.
- Gloves are an important part of placenta encapsulation supplies. The gloves protect the body from potential blood born pathogens and harsh chemicals. Put gloves when starting the cleaning process.
- Each placenta process requires a new sponge. You don’t need a fancy sponge for placenta encapsulation!
- Antibacterial soap is an integral part of the cleaning and disinfecting process when encapsulating placentas. Also, this is the soap to wash your hands with.
- Use bleach for every placenta encapsulated. Submerge all supplies in a water/bleach mix after they washing in antibacterial soap. Also, make a spray bottle bleach/water solution to spray surfaces and other equipment used.
- Use disinfectant wipes when cleaning and disinfecting before and after placenta encapsulation. After you wash your work space with hot soapy water, wipe everything down with disinfecting wipes.
- I use paper towels to dry my disinfected and cleaned placenta encapsulation supplies. I also use them to dry my hands after washing them with antibacterial soap.
Step 2: Preparing the Placenta
Use the following supplies to prepare the placenta for encapsulation with a rinse, removing the umbilical cord, steam, and slicing for dehydration.
- I use this colander for placenta encapsulation when I am rinsing the placenta after the initial inspection. If the placenta is getting a vinegar rinse for meconium staining, that happens here too.
- A sharp knife is essential when you are slicing a placenta. The thinner the pieces, the faster the dehydrating time will be.
- I use a stainless steel pot because it’s easy to scrub and clean. This 3 quart pot is wide enough to fit a placenta for steaming. A glass lid is a must, so you can see into the pot without removing the lid. I gently steam the placenta on very low heat over ginger, a hot pepper and a sliced lemon.
- Use these tongs to pick up the steamed placenta and place it on the chux pad to cool.
- A glass cutting board works well because it can be reused again and again without worry of not being able to get clean.
- Place the placenta on an underpad/chux pad before steaming to clean it up for a photo. After the steaming process, place the placenta on an additional chug pad while it cools. I’m usually able to squeeze a lot of excess fluids into these absorbent underpad. I love these things!
- I don’t steam the placenta on my kitchen stove. Instead, I use a countertop burner, or a hot plate, to bring the placenta up to temperature. I find this to be a better way to control the cleanliness and sanitation throughout the encapsulation process.
Step 3: Dehydrating the Placenta
Use the following placenta dehydrator to dehydrate the placenta. Once the placenta is dehydrated it can be ground into a powder.
-
 $89.99Buy Now
The best dehydrator for placenta encapsulation is one where you can regulate the temperature and that has a top mounted fan. I use 160 degrees for the placenta, and a lower temperature to dehydrate capsules before placing them in the capsule machine. It's important to use dehydrator with a top mounted fan for placenta encapsulation because the alternative, an enclosed fan dehydrator, cannot be cleaned and sanitized properly.
We earn a commission if you make a purchase, at no additional cost to you.
03/20/2025 07:57 am GMT -
 $12.17Buy Now
Make sure to buy a dehydrator for placenta encapsulation with 2 fruit roll sheets. Cleanup is easy when sliced placenta dehydrates on a fruit roll sheet.
We earn a commission if you make a purchase, at no additional cost to you.
03/20/2025 07:57 am GMT
Step 4: Filling Capsules with Placenta Powder
Use the following supplies to create a placenta powder and put into capsules.
-
 $41.49Buy Now
Use this to grind the dehydrated placenta into a fine powder. It's important to use a grinder/blender cup that can be removed from the base to be cleaned and sanitized.
We earn a commission if you make a purchase, at no additional cost to you.
03/20/2025 09:52 am GMT -
 $17.99Buy Now
Use three glass bowls for placenta encapsulation. Glass is easy to clean. The smallest bowl holds the placenta powder, another holds empty capsules, and the third holds the filled capsules.
We earn a commission if you make a purchase, at no additional cost to you.
03/20/2025 07:03 am GMT -
 $15.79Buy Now
Vegetarian capsules are the way to go! I prefer size "0" because pills are smaller and easier to swallow. Also, when pills are smaller it's easier to adjust dosing.
We earn a commission if you make a purchase, at no additional cost to you.
03/20/2025 07:57 am GMT -
 $2.38Buy Now
Before grinding the placenta line the work space with foil. This helps to be able to see clearly any placenta powder that has fallen on the counter. Make sure to use every spec of placenta powder!
We earn a commission if you make a purchase, at no additional cost to you.
03/20/2025 09:37 am GMT
Step 5: Packaging Placenta Pills
If you are planning to encapsulating placentas for a living, you’ll need to consider the materials for packaging the final product. Use the following supplies to package placenta pills and the dried umbilical cord.
- I use kraft bags to deliver the placenta pills in.
- 8 ounce amber glass jars with screw top lids are perfect for storing encapsulated placenta pills.
- Put the dehydrated umbilical cord in these 5×7 muslin bags.
- I usually put some sort of gift with the finished placenta pills. I typically pick from Mother Love products, because they’re amazing.


Placenta Encapsulation Startup Cost
This list of placenta encapsulation supplies used to start a placenta encapsulation business will cost less than $600, but will obviously vary based on what someone already has on hand. For example, you may already have a pot with a lid, a knife, tongs, etc, that you could remove from your kitchen and put in your supply closet. Now you don’t need to buy those things!
That being said, the cost of placenta encapsulation will average somewhere between $250-$350 so most will almost cover their startup costs after two encapsulated placentas. Not bad!


